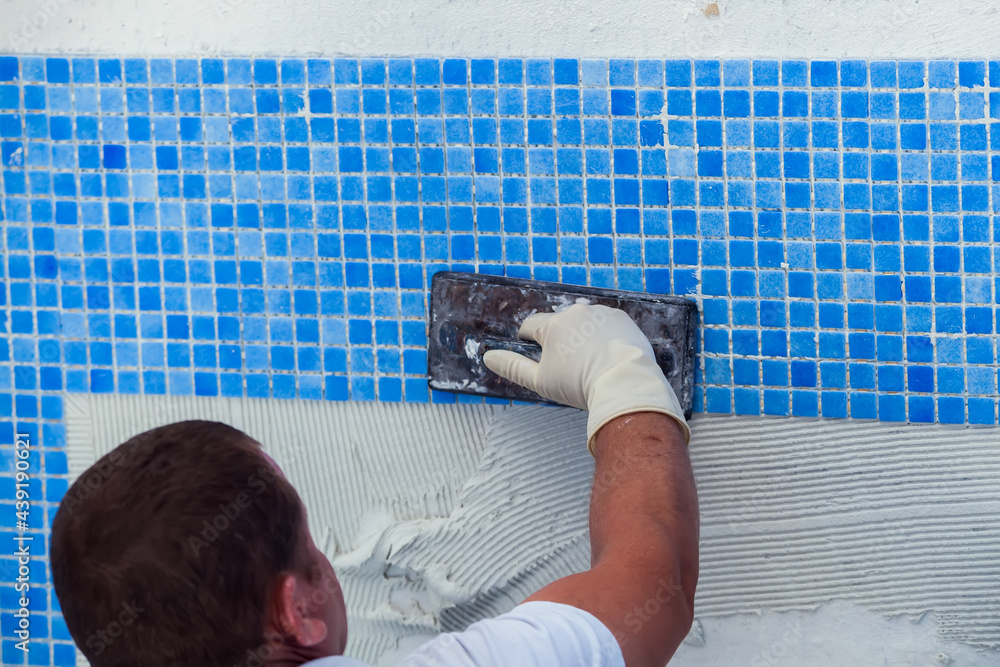
Installing a waterline and decorative tile in a pool requires careful planning, attention to detail, and skilled craftsmanship. Here’s a step-by-step guide on the best way to go about it:
Planning and Design:
- Before starting any construction, work closely with your designer to choose the waterline tile and decorative tile design that complements the pool’s aesthetics and your preferences.
Gather Materials and Tools:
- Procure all necessary materials, including the chosen tiles, adhesive, grout, tile spacers, tile saw, trowels, and other relevant tools.
Preparation:
- Empty the pool and thoroughly clean the area where the tiles will be installed. Remove any debris, algae, or dirt from the pool’s surface.
- If necessary, repair any cracks or imperfections in the pool’s structure before starting the tiling process.
Setting the Waterline Tile:
- Start by installing the waterline tile, which is typically placed around the pool’s waterline.
- Apply a high-quality waterproof tile adhesive to the back of each tile using a notched trowel.
- Carefully press the tiles onto the pool surface, using tile spacers to ensure even spacing between the tiles.
- Use a tile saw to make precise cuts for tiles that need to fit around corners or other obstacles.
- Allow the adhesive to dry for the recommended amount of time before moving on to the next step.
Installing Decorative Tile:
- Once the waterline tiles are securely in place, move on to installing the decorative tiles in other areas of the pool, such as the steps, benches, or walls.
- Follow the same adhesive and spacing process as for the waterline tiles.
- Pay close attention to alignment and ensure that the tiles are level.
Grouting:
- Once the adhesive is fully cured, carefully remove the tile spacers.
- Mix and apply the appropriate pool-grade grout into the gaps between the tiles, using a rubber float.
- Wipe away excess grout from the tile surfaces with a damp sponge, being careful not to dislodge the tiles.
Curing and Sealing:
- Allow the grout to cure for the recommended time, ensuring it’s fully dry before filling the pool with water.
- Once the pool is filled, consider applying a high-quality pool tile sealer to protect the tiles from water, chemicals, and UV rays.
- Follow the manufacturer’s instructions for application.
Finishing Touches:
- Clean the tiles and the pool’s water to remove any residual grout or haze.
- Perform a final inspection to ensure that all tiles are properly aligned, grouted, and sealed
Remember that pool construction and tile installation require expertise.


